
Use the Snake Key and Voyeur Ticket, find the Hobby Horse and Gagged Skull to open the Dance Room, beat the Sister of Mercy, then cross the Revealer's gaze from cover to cover. This fourth part covers the 1952 and 1923 cabinet codes, the Swinger Rooms and the pillar-raising crossing.
How do you reach the Sister of Mercy in Marlowe’s club?
Use the Snake Key and Voyeur Ticket, recover the Genesis Configuration and find the Hobby Horse and Gagged Skull to reach the Dance Room.
Enter the Voyeur route and regain the cube
- Leave the apartment and turn back at the dead end. A lift appears. Upstairs, follow the blood trail past the locked snake door and through the surveillance area.
- Take the Snake Key from a locker. The photo here gives 1952, the safe code inside the snake room. Unlock that room and take the Voyeur Ticket.
- Use the ticket at the Voyeur Fetish door. Continue past the gold door and mannequins to the blocked Exit. Shoot the large creature’s limbs, Banish it and collect the Labyrinth Remnant.
- Beyond the Exit, take the Peephole Inset at the ladder’s base. Return through Zora’s area and the Changing Rooms to the gold door.
- Fit the inset and rotate the image pieces into a woman’s picture with her head and hair toward the left. The door opens.
- Sneak right behind pillars, pushing the large box aside where needed. Getting caught here causes Game Over. Cross toward the red-lit area, cut through the bathroom and use the bar as cover before heading right upstairs. From the point where you are spotted, run back into the labyrinth.
Follow the traps and rotating room through its red corner tunnel to retrieve the Genesis Configuration. Ride the glowing platform while moving it with the cube; pushing the right stick up moves it faster. At the next rotating-room puzzle, drag each section using the blue panels until the path joins. Manipulating the second and third sections also lets you reach the final section’s Suffering upgrade.
Interact with the armchair needle, wake the man by the TV and follow the distant ladder back toward the club. Inspect the bathroom pill bottle. When the changing walls trap you, wait for them to open a route. Run from the Chatterer through the white doors, then use the bottle, pills and needle. The later capture leads to a conversation and the Hellchains ability.
Unlock the Swinger Rooms and skull door
Back in the club, take the ear statue from the room along the left corridor. Pull its pins in this order: bottom right, top, middle right, left. Take the Embossed Block and use it at the far double doors in the main hall.
Match the lock’s four pictures to the two artworks beside the doors, keeping their order. The door opens into the bedroom route. The optional cabinet code here is 1923, from 19 and 23 on the two men with Leviathan symbols in the photo. Both club codes sit with the rest in hellraiser revival codes.
Crawl beneath the desk and continue around the mezzanine. The upstairs locked door needs a special key. Go downstairs through the door behind the stairs, climb the ladder and drop through the floor hole.
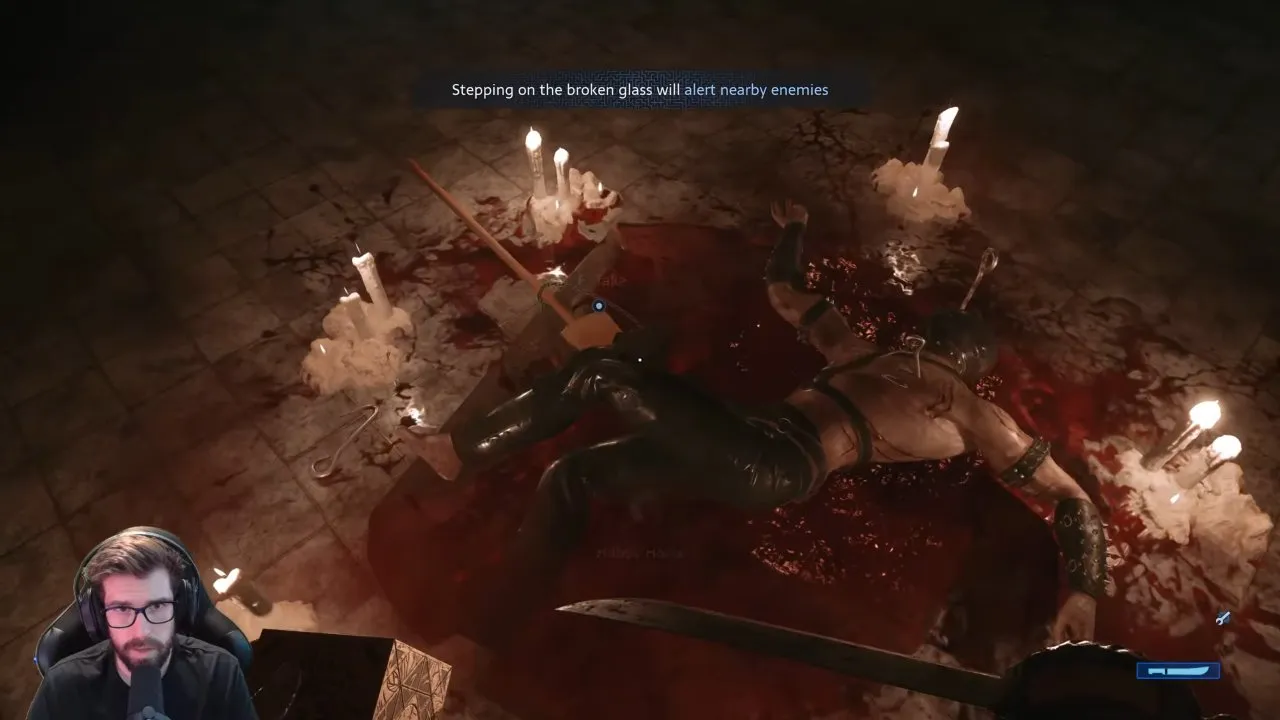
Take the Hobby Horse, which has a key sewn into it. Return upstairs and use it to open the Swinger Rooms. Continue to the pedestal and take the Gagged Skull. This triggers another large-creature fight, so prepare before collecting it. Shoot its limbs to defeat it.
Return to the main lobby and find Zora through the opposite-end door. Add the skull to the three-skull door nearby. Head into the club area and reach the Dance Room.
Defeat the Sister of Mercy
Use guns while she moves through the air. When the room turns red, look for her outline and shoot when you can see her. When normal lighting returns, unleash Hellchains.
Repeat that cycle twice, then keep damaging her until she falls and interact with her. Search the arena for ammunition and healing if needed, and use cube powers when ammunition runs low. The hellraiser revival sister of mercy guide focuses on this fight.
Take the corridor upstairs into the labyrinth, collect the health increase ahead and return to the apartment. Give Sunny the Sister of Mercy’s Heart, then leave again.
How do you cross the Revealer’s gaze safely?
Crouch from cover to cover, keep the temporary pillars raised and leave the blue flame alone until you have crossed its bridge.
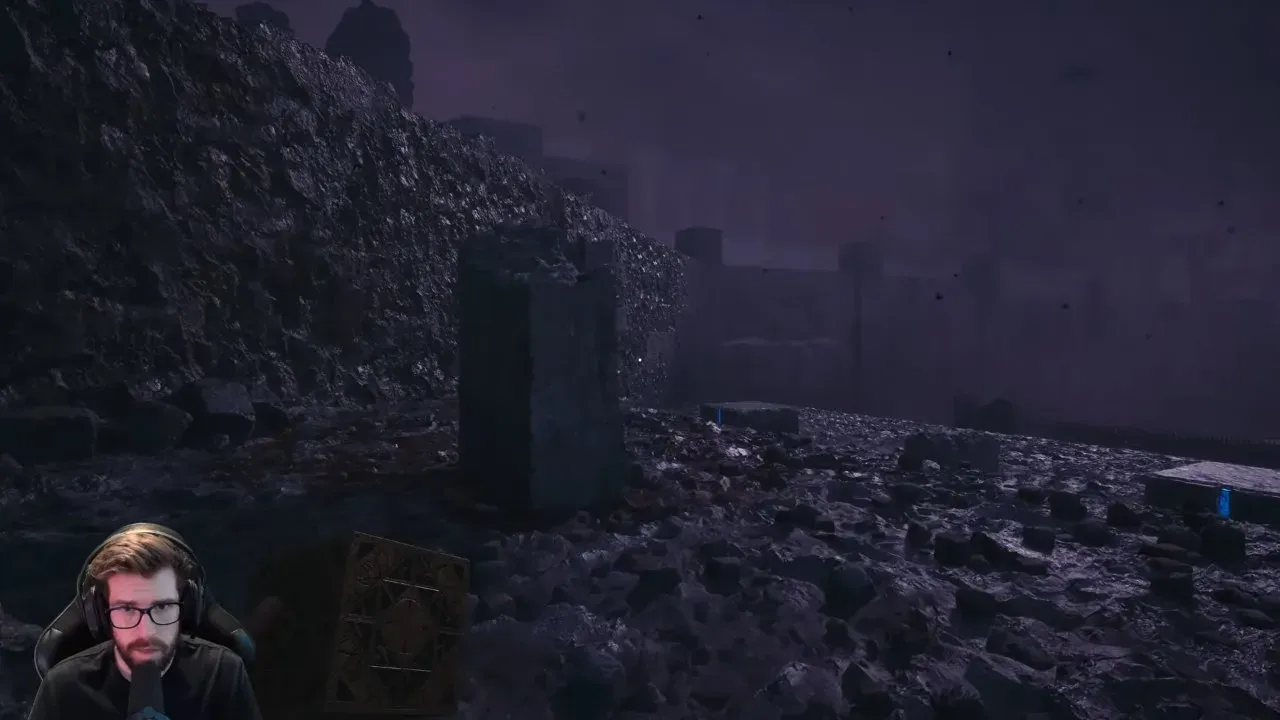
Start by moving right toward the fence gap and lower ground. Use your cube to raise the pillars, which sink over time. Refresh them before moving between cover points so you do not step into an exposed route.
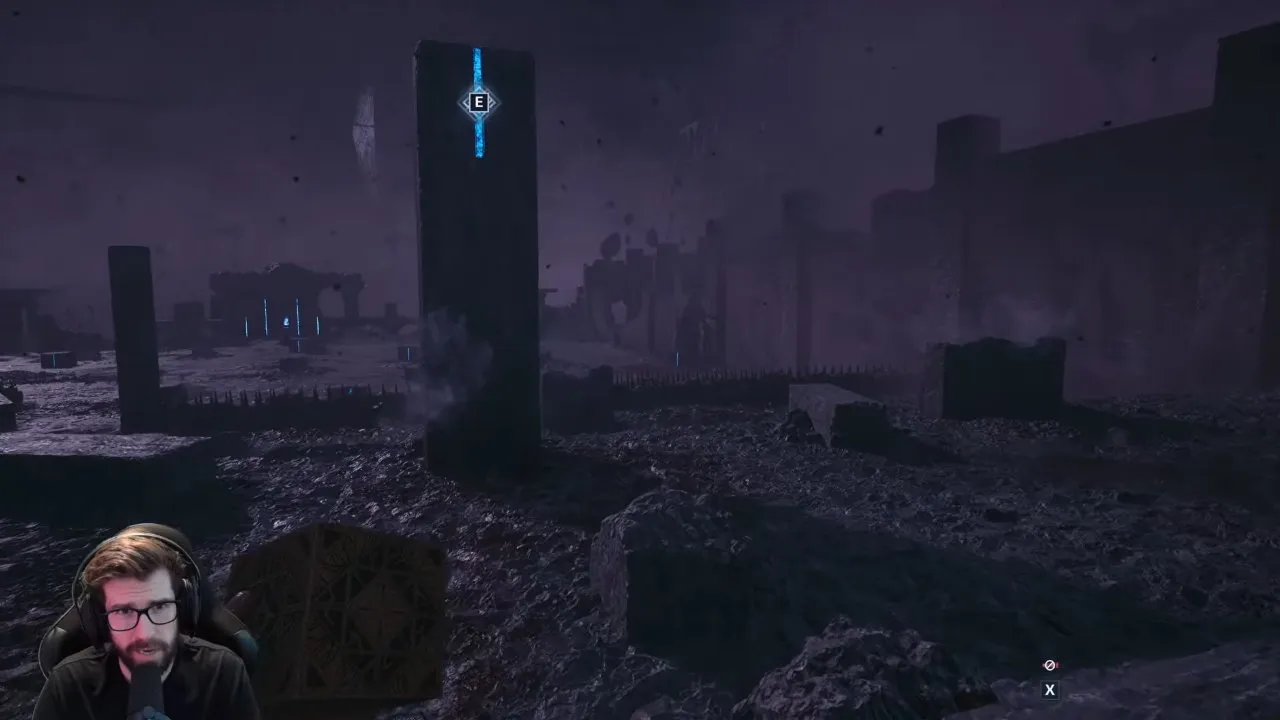
The beam can look like a hazard you should outrun, but slow movement and cover are the safer approach. One player survived a rushed crossing and described it as a mistake; treat that as a lucky escape, rather than a reliable route. Running makes you easier to spot.
Leave the blue flame where it is. Taking it removes the bridge you need. Reaching the bridge puts you on the safe route forward. For this section specifically, use hellraiser revival leviathan.