
Follow Sunny through the timed doors and take the heart from the pedestal, then pull yourself out of the chair, press the skull pins in order for the Tongue Key and bring the Bunny Key to the VIP exit. This first part covers the prologue and the Scarlet Church escape in Clive Barker's Hellraiser: Revival, including the 9901 cabinet code and the three club items the woman in white asks for.
How do you get through the prologue?
Follow Sunny, activate the timed doors, reverse direction in the looping apartment and take the heart from the pedestal.
- Turn right at the balcony and follow the blue torch through the chain room. Continue toward light coming through the walls until you reach a bridge pressure plate.
- Stand on the plate, then sprint through the doorway. At the next plate, run and slide under the closing door. Getting through before it shuts is your check.
- At the barred doorway, turn left and crawl through the wall gap into the red tunnel. Continue past the giant spider-like figure into the apartment loop.
- When “you’ve always preferred the darkness” appears on the wall, turn back. The route now leads upstairs to the heart pedestal.
- Take the heart. After the scene, use the cube to move the platform with the button toward you. You can continue once the gap has a walkable route.
How do you escape the cult and unlock the VIP room?
Free yourself, assemble the Blemished Diamond, obtain the Tongue Key and restore power in Room 206 before working your way to the VIP Bunny Key.
Free yourself and pass Bruno
- Pull the nail from your hand, remove the hook and use it to break your chest stitches. You can leave the chair afterward.
- Take the Blemished Fragment from the body in the red room. Find the Blemished Diamond upstairs and place it into the wall indent above M359. The door beside the plaque opens.
- Crawl under the guarded gate. Near the elevator, collect a lockpick, then find the ladder behind the broken corridor wall. It leads down to the dumpster courtyard.
- Enter the side room, take the clothes and key, and use the strange wall mark to save. Unlock the opposite courtyard door and crouch through the dark areas.
- In the office and bedroom, press the skull pins in this order: right, back, left temple, top. Its mouth opens with the Tongue Key inside. Use it on the fleshy door.
- Sneak around Bruno. Wait behind the wheelchair until he moves right, then reach the left-hand door. Its reader needs a keycard, so return and take the card beside his victim while he looks at the painting. The reader opens the route into the art corridor. You fight him later; the hellraiser revival bruno guide covers both encounters.
The optional art-corridor cabinet code is 9901, combining 99 and 01 on the artwork plaques. Other combinations are collected in hellraiser revival codes.
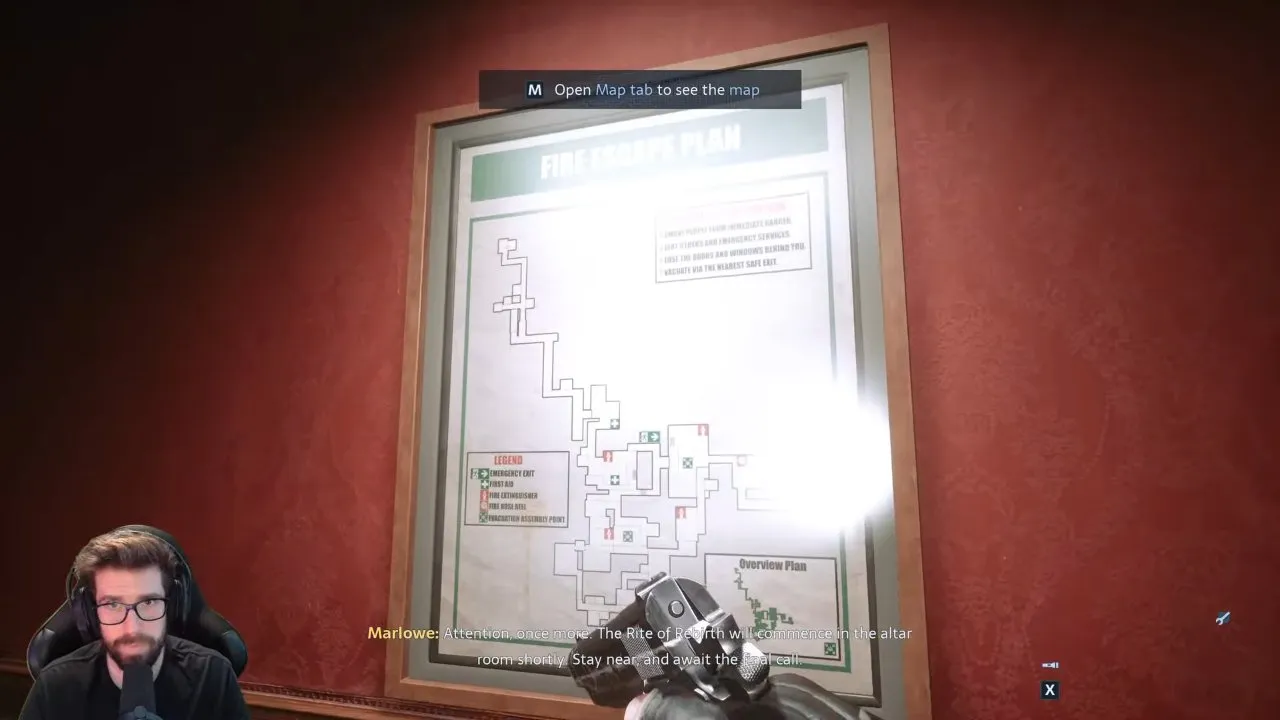
Survive the first Chatterer chase and restore power
Save downstairs, then turn around at the dead end to reveal a new corridor. During the chase, keep moving, duck under chains and use the escape prompt if you get caught. Reverse direction when the Chatterer blocks your route. Reaching the hospital-like area ends this chase; opening the gate gives you a route back to the earlier save point.
Take the knife from the hanging body beyond the green doors. Push the bookshelf aside and use rear stealth attacks where enemies face away from you. Continue through the library and medical rooms, taking the strange book along the way.
When the corridor turns red, collect the flashlight beside the Exit door. Go back to Room 206 and press the green power-box button. The lights return, and the Exit door opens. Take the gun by the body, then continue through the sitting room, kitchen, bunk room and upstairs ladder. Save at the top.
Get the Duckie and Bunny Key
Clear the chapel. An enemy enters through the door near your drop-in point; after dealing with them, go through that door and into the room straight ahead.
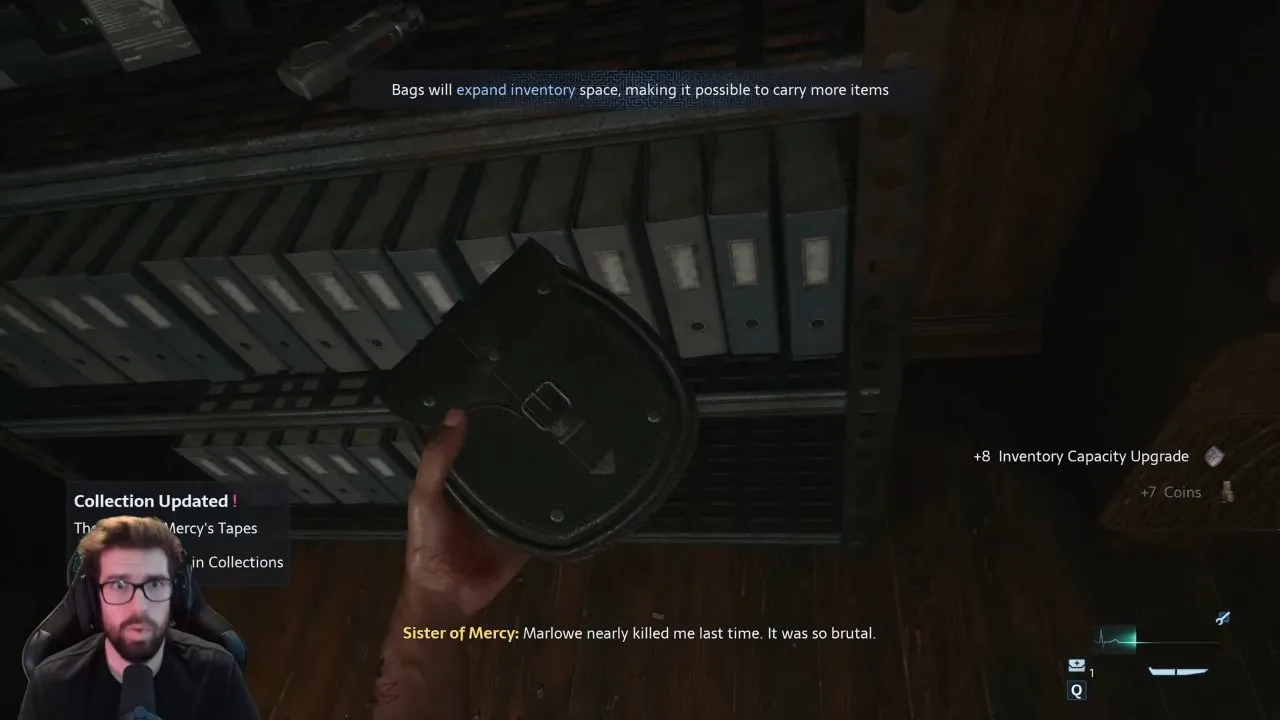
Take the inventory capacity upgrade and Leviathan Tip from the recording room. Early inventory space is tight, so collecting this before further looting saves you from leaving useful supplies behind. Return across the chapel to the artwork hall, fit the tip onto the obelisk and rotate it until the labyrinth lines match. It opens with the S&M Duckie inside.
Use the Duckie in the hollow beside the locked door outside the recording room. Follow the stairs into the club. The woman in white in a room off the dance floor wants three items:
| Item | Where to look |
|---|---|
| Spreader bar | Floor of the green-lit room through an archway |
| Paddle | Pouffe in another corner through an oval arch |
| Dildo | Shelf in the offshoot room with pink laser lights |
Bring her all three and complete the interactions to receive the Bunny Key. Use it at the VIP entrance, follow the corridor around to the right and reach the Exit door.