
Put on the disguise, escape through the sewers and take the Van Key, then fit the Graveyard Gate Inset and follow Pinhead into the labyrinth to free Sunny's soul. This second part covers Charlotte's chase through the woods, the 9606 safe code and the beam puzzle that ends at Sunny's pillar.
How do you take back the Genesis Configuration and escape Charlotte?
Return through the club, put on the disguise, then escape through the sewers and recover the Graveyard Gate Inset from the shed.
- Backtrack from the Exit. The previously closed gathering-room door now opens. Continue through, save and put on the pile of clothes. Going through the next door starts the scene.
- When control returns, run down the ladder and through the sewers. Open the metal door and lock the heavy door behind you. That blocks the pursuer while you descend again.
- Follow the corridors through the blue door and the Do Not Enter doorway. Drop from the broken ledge, follow red lights and take the right-hand route to the pink lamp and ladder.
- At the top, trade with Zora, use storage and save. A room on the right has a pistol upgrade on a cabinet. Continue through the open doorway across the sewer.
- After dropping through the manhole, move through the water toward the hold-to-open door. Continue upstairs into the woodland route. The scene near the warning door upgrades your cube.
- Avoid electrified puddles by using pipes and boxes. The generator switch transfers electricity between sides of the room. Switch it so your route is clear before crossing; the same hazard can damage enemies.
- Take the Van Key from the body behind the armoured enemy. Killing that enemy is optional. Open the door, go upstairs and climb through the van’s rear doors.
- Run through the woods, crawl through the log and change direction when Charlotte blocks you. Watch for bear traps; hold the escape prompt if caught. After the scene, fix your leg and continue through the ruined chapel.
In the graveyard, go right through the wall gap and head uphill from the bell to the house. Take the Shed Key beside the bed and the inventory upgrade in the wardrobe. The nearby safe code is 9606, from 96 and 06 in the note and photo; it contains a pistol upgrade. Every other lock is listed in hellraiser revival codes.
Unlock the shed and take the Graveyard Gate Inset. Return to the chapel gate without being seen by Charlotte, fit the inset and, when she grabs you, shoot the flaming ceiling light. She burns and retreats, letting you pass into the courtyard.
How do you find Sunny and free her soul?
Follow Pinhead into the labyrinth, reach Sunny’s pillar and fit the Genesis Configuration into its relief. Who Sunny, Charlotte and Pinhead are is covered in hellraiser revival characters.
Follow the blue silhouette after Pinhead leaves. When the spinning top appears, turn and run, using side spaces along its track for safety. The route toward the blue light progresses the objective; the opposite direction has a permanent health upgrade.
Pass the two moving tops and stand in the central circle where several tracks converge. You arrive in a bathroom. Approach the mirror, then break it after the scene: a doorway appears. Continue until you reach the beam puzzle.
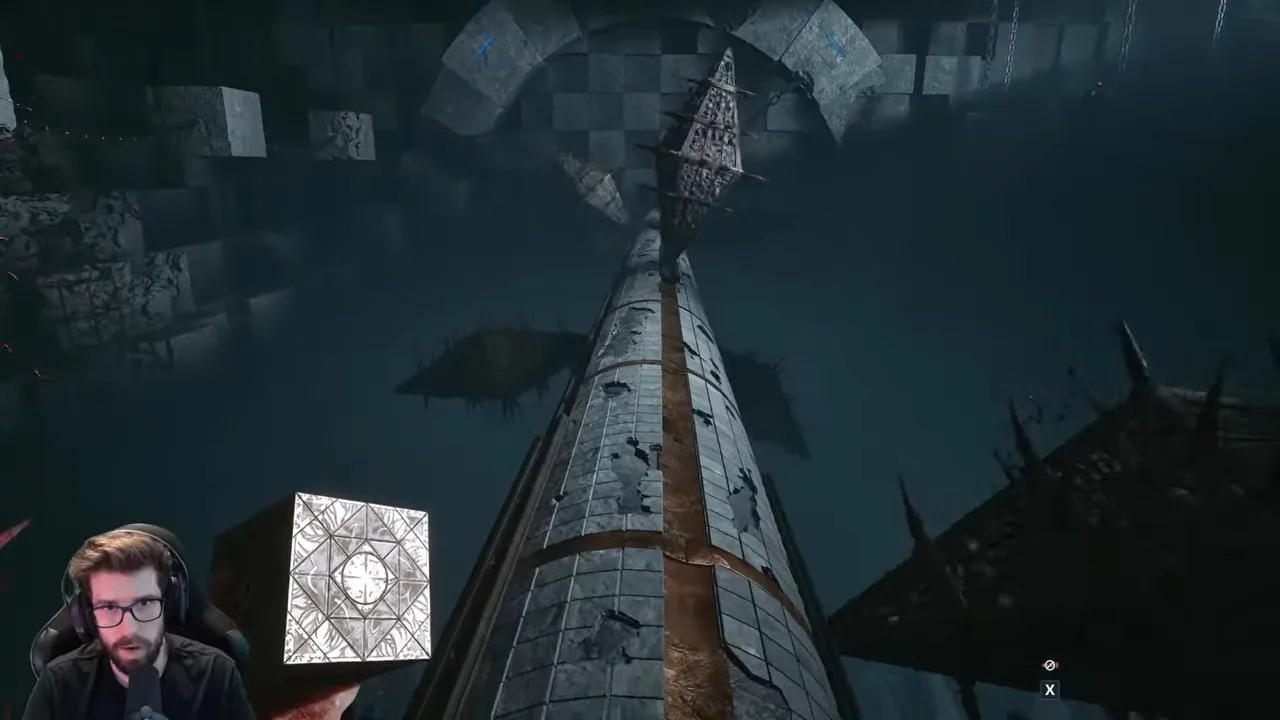
Use the cube on the glowing blue controls to rotate the beam and align a passage. This looks like a platform you might cross at the edge, but the crossing funnels you toward the centre. Align the middle precisely before walking. One player found they could stay on the platform while moving it, which made alignment easier.
After meeting Pinhead again, descend the spiral stairs and take the route toward the red light at the second button. In the looping room, interact with the chair when you cannot continue. The door opens, leading to a save point and the open labyrinth beneath the huge diamond.
- Crawl through the dead-end gap and continue into the open area. The right-hand pedestal increases Suffering.
- In the chamber with the red plant, follow the blue-lit path. Each loop changes the chamber. When the torches are dark, take the next open path to the right. Completing the loops reveals a red entrance in the centre.
- During the prison chase, slide the top blocking cube aside and lift the lower one. Continue to the cell and interact with the man on the bed.
- In the next chase, avoid tops and electrical traps. At the pillar room, move a box over the switch on the left wall. The escape door opens behind you.
- Continue through the ruins, crouching beneath wall gaps, until you reach Sunny’s pillar. Insert the cube, rotate it to match the indent and confirm. The scene starts and a doorway appears behind the pillar.
Go through, save and continue. Back in the apartment, deal with the arriving enemies, then leave by the open passage. The stairs return you to the graveyard, where Zora is available.