
Recover the Statue's Hand, Head and Tongue in that order, fit each piece to its gate and banish Charlotte to take her heart back to Sunny. This third part covers the figurines and gas-room statues in Bruno's house, the picture-block well puzzle and the apartment loops that end at Sunny's bed.
How do you open Charlotte’s three gates and get her heart?
Recover the Statue’s Hand, Head and Tongue in that order, fit each piece to its gate and use the cube relief to open the next route.
Recover the Statue’s Hand
Go upstairs to the large house. Take Bolt Cutters from the red tool chest in the car port on its right, then cut the cellar hatch chain on the opposite side. At the elevator, attempting to collect the mask starts a fight. Damage the enemy until it glows blue and use your cube to finish it; the elevator then takes you to the lobby.
The central display needs two figurines:
- Upstairs, take the Winding Handle from the gramophone in the piano room. The optional cupboard code is 1966, answering “300 years after the Great Fire”; the clue and the other combinations are in hellraiser revival codes.
- In the study, copy the flower picture onto the cabinet lock. Rotate its sections until the filled triangles sit in the centre. The cabinet opens with the Marlowe Figurine.
- Use the handle on the dining-room gramophone downstairs. Its drawer reveals the Bruno Figurine.
- Place both figurines in the lobby display. Take the Statue’s Hand and Resurrection Key, then defeat the lockdown enemies.
- Unlock the downstairs door with the Resurrection Key. Poison gas fills this room, so quickly set the three statues to the poses in the large painting. Matching them opens a door where the painting stood.
- Take the Bedroom Key, press the green button and crawl back to the lobby. Unlock the red-chained upstairs bedroom and take the Security Card from the dressing-table diary.
Use the card at the front door and return to the gates. Attach the Hand, rotate the cube to match the chest relief and confirm. The gate opens toward the cabin.
Recover the Statue’s Head
Take the Head from the armchair by the cabin fire, then survive the ambush. Use the planks near the front door to barricade windows and limit enemy entry.
Afterward, take the Crank Handle beneath the house before trying to climb out. Use it on the rear winch to raise the bridge. Cross back to the courtyard, attach the Head and match the second gate’s cube relief. Beyond it, you gain the ability to throw fire.
Recover the Statue’s Tongue
Inspect the paper beside the well lock, then collect three Puzzle Blocks.
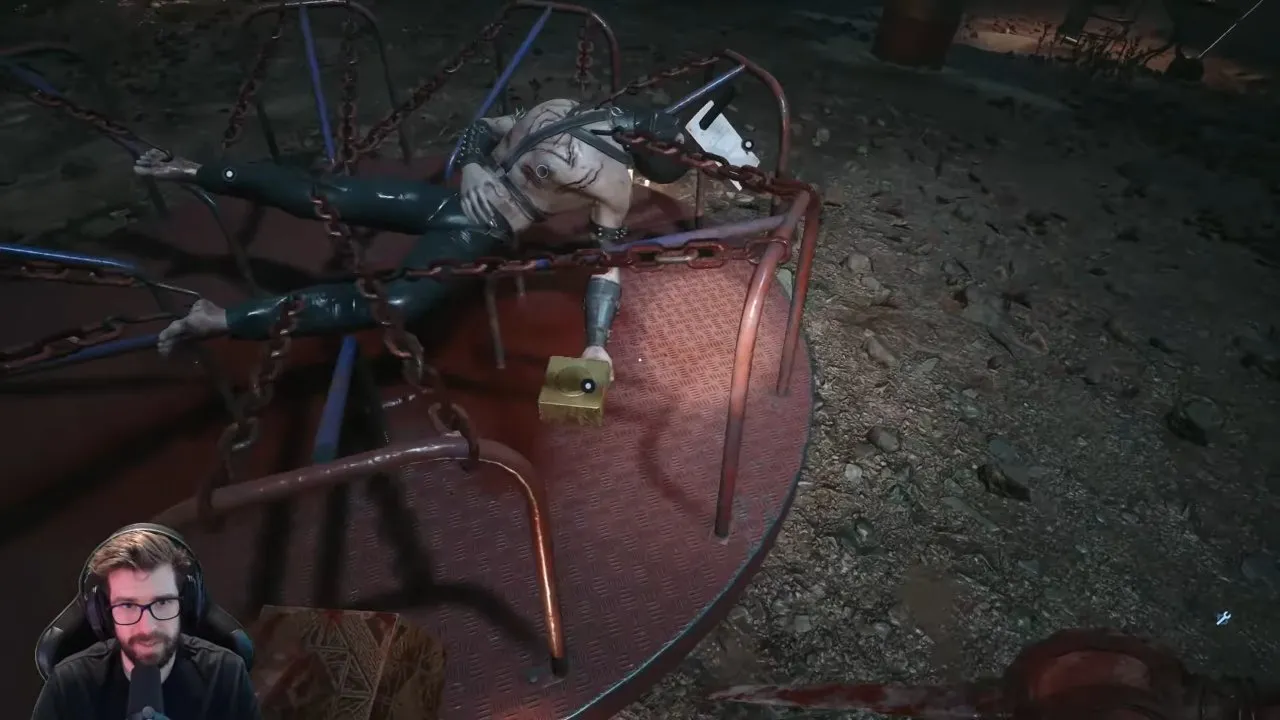
- Playground: take the block from the body on the roundabout beyond the leaning archway. Prepare for enemies after collecting it.
- Boat: pull the boat to the jetty with the winch, then take its block. Another ambush follows.
- Pagoda: take the block from the central body uphill from the well. Enemies arrive here too. The opposite shed has a lockpicked safe with inventory and shotgun upgrades.
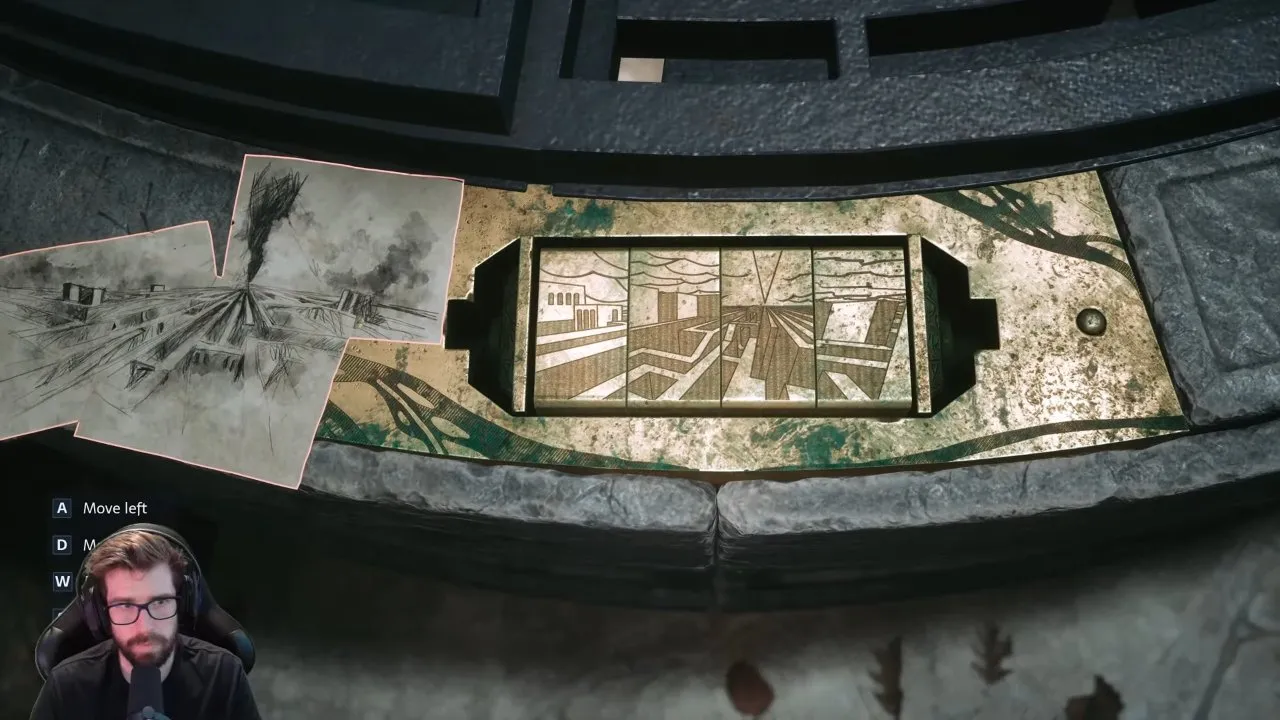
Insert the blocks and rotate the four picture sections to reproduce the paper’s labyrinth scene. Similar-looking pieces can seem correct at first; check that the side structures and central smoke belong to the same continuous picture. The well opens when you finish.
Descend and take the Statue’s Tongue from the desk through the right-hand tunnel. Match the fuse-box wires by colour: red to red, blue to blue, orange to orange. Follow the red cable from the central room, inspect the book and cube at the corridor desk, then press the yellow-box button. A hatch opens upstairs, returning you to the gates.
Fit the Tongue and solve the final chest relief. Beyond the gate, gather supplies before reading the note and examining the photo at the tree. Those interactions start the fight sequence.
Defeat Charlotte
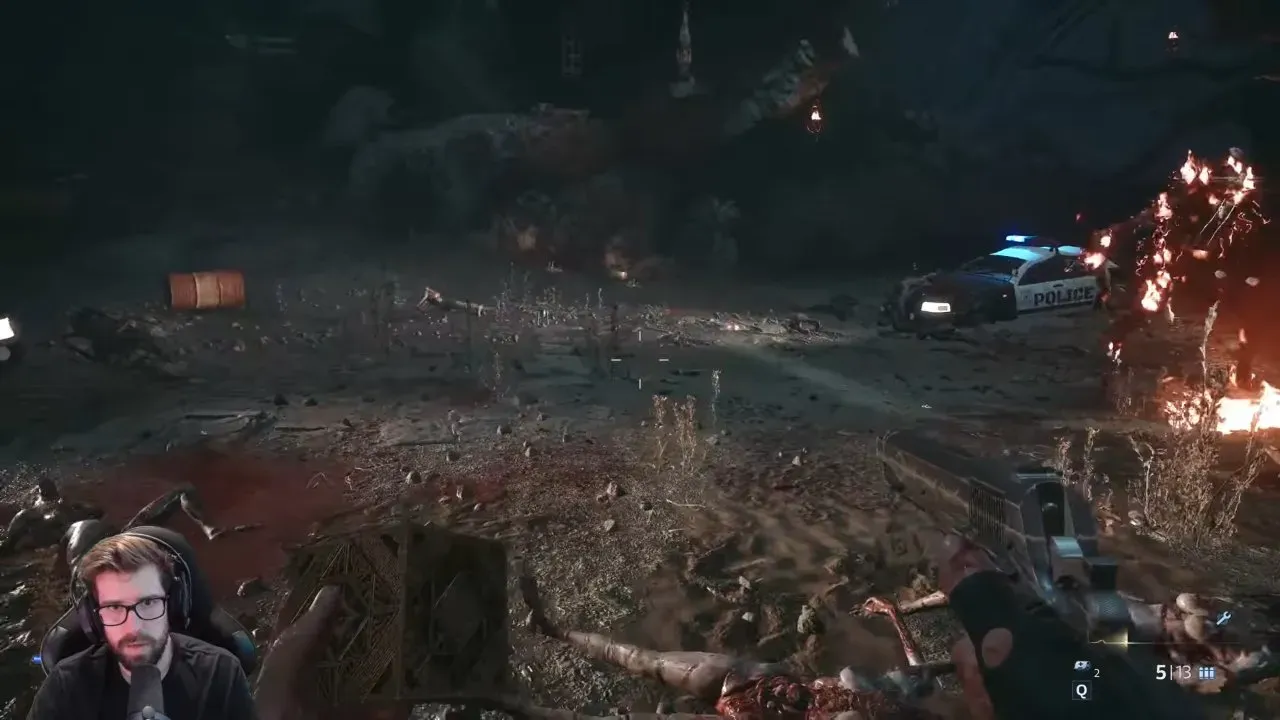
Clear the ordinary enemies until the police cars arrive and Charlotte appears. Keep moving and evade when she closes in. Use torch fire with the cube, shoot down tree torches and open police-car trunks for gas canisters.
Between Charlotte’s appearances, clear the normal enemies to bring her back. Keep damaging her until she flashes blue, then Banish her. You receive Charlotte’s Heart and can collect her crown. Her story role is explained in hellraiser revival characters.
How do you bring Charlotte’s heart back to Sunny?
Take the new stairs, prop open the pressure-plate door with a cube and complete the apartment loops to reach Sunny’s bed.
The battlefield stairs lead to a Suffering pedestal and a trapped corridor. For the optional health upgrade, approach the rotating room, then backtrack past the last spike trap and take the previously ignored side turn. Its narrow platform reaches the upgrade.
Continue around the vortex instead of stepping into it. At the pressure plate, move one of the two cubes beyond the door into its closing path, then move the other aside. The first cube holds the door open after you leave the plate; the second clears your passage.
Raise the next trap ceiling with the Genesis Configuration and run through, avoiding floor spikes. Staying left is a useful route through this section.
In the living-room loop, inspect the dining-table book. In subsequent loops, read the phone messages after it vibrates again and take the printer photo, inspect the tin through the newly opened double doors, then open the curtain and interact with the doll in the red corridor. Each interaction advances the changing apartment route. When you return to Sunny’s bed, give her Charlotte’s Heart.