
Press three skull nails, trade three VIP items, and fit the cemetery insert. These Hellraiser Revival puzzles take you through the Scarlet Church, the Club, and Serenity Park in Clive Barker's Hellraiser: Revival. You also need the Leviathan statue's duck for the Club entrance and the Barn Key from the house bedroom in Serenity Park.
How do you solve the Tongue Key skull puzzle?
Inspect the skull and press all three red nails to release the Tongue Key.
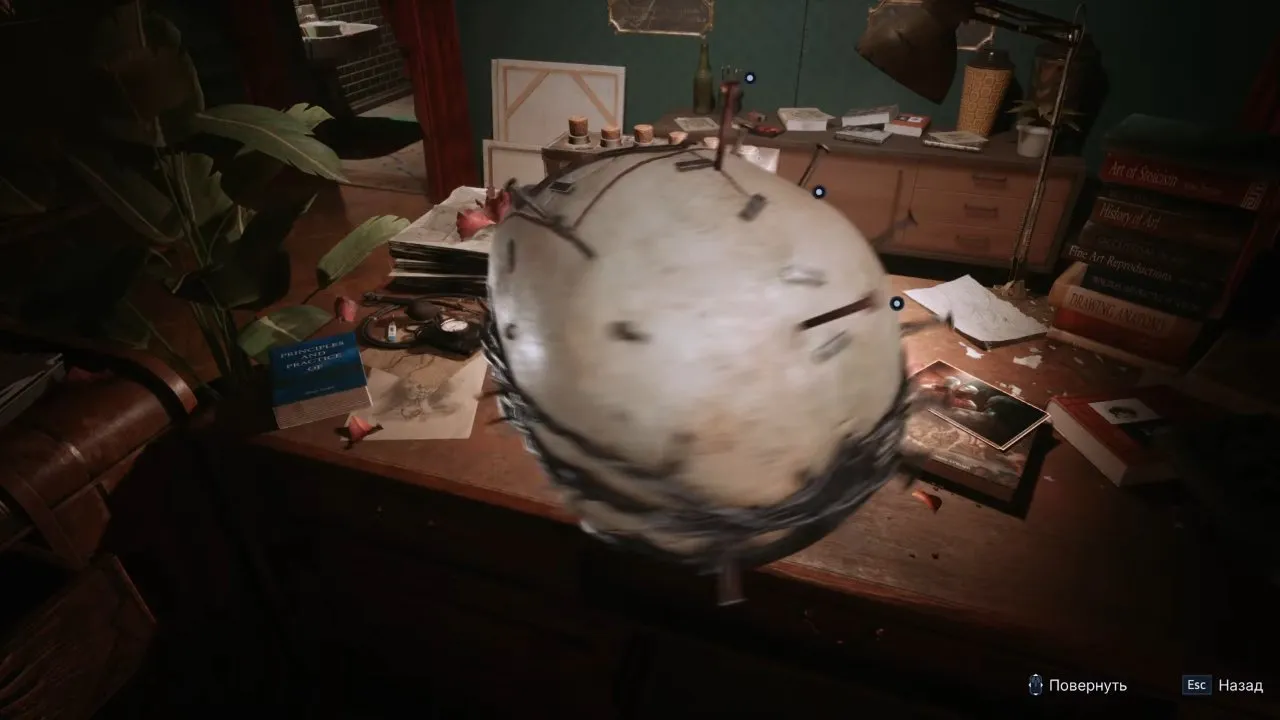
- Inspect the skull and turn it to reach the red nails.
- Press each of the three nails. A pressed nail stays down, so you can tell which ones you have already activated.
- When all three are down, the skull opens. Take the Tongue Key from its mouth.
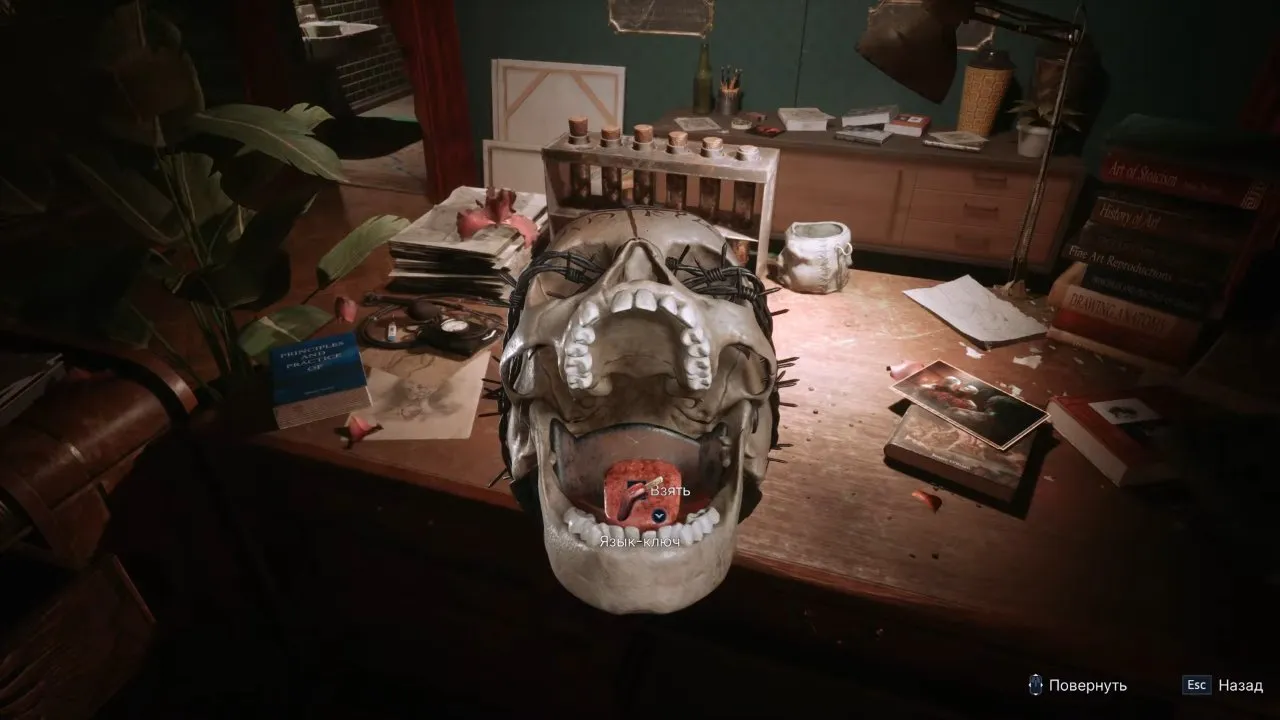
The nails look like decoration at first, but they are buttons. One player tried rotating the skull before realizing that all three needed pressing. Rotate it to reach the buttons, then check that they stay down; looking for a loose key elsewhere will not solve this skull.
For the surrounding Scarlet Church route, continue with the hellraiser revival walkthrough.
How do you get Bruno's operating room keycard?
Wait for Bruno's patrol to move away, then pick up Bruno's keycard in the operating room.
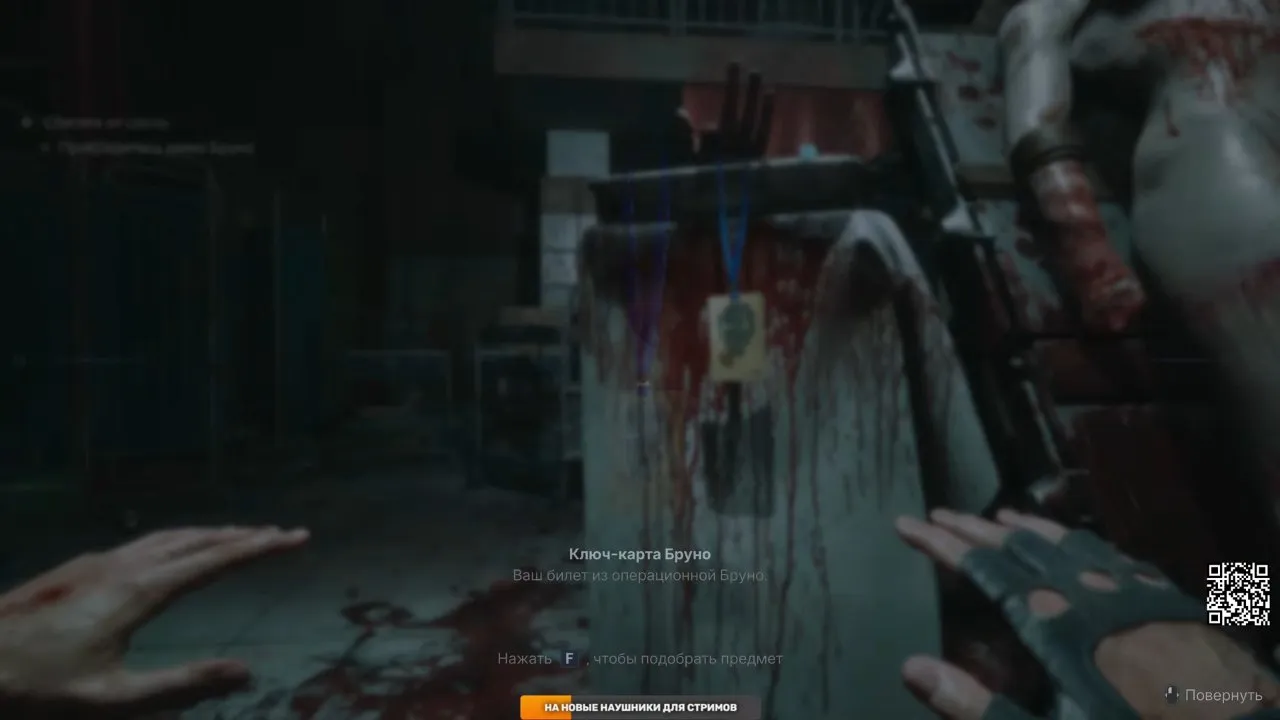
- Watch the patrol before approaching the card. One player waited through Bruno's movement to learn when to go.
- Move in when the patrol gives you an opening and inspect the card.
- Pick it up, then head toward the exit.
Check the item name before leaving. The pickup interface shows Bruno's keycard and an operating-room escape description, so this is the card you need for this section.
How do you solve the Leviathan statue duck puzzle?
Insert the Leviathan Top into the statue, assemble its patterned sections, and collect the duck revealed inside.
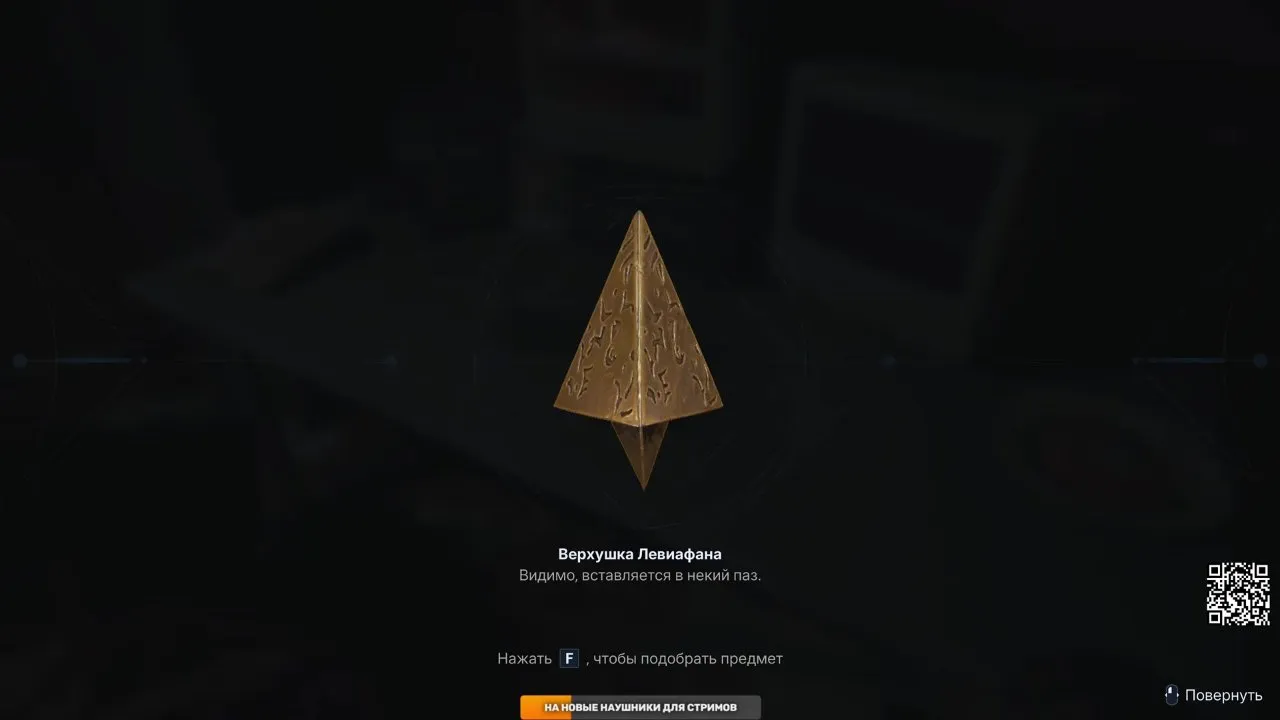
The Leviathan Top is the missing insert. Its description points you toward a slot, so take it back to the statue rather than trying it on the Club door.
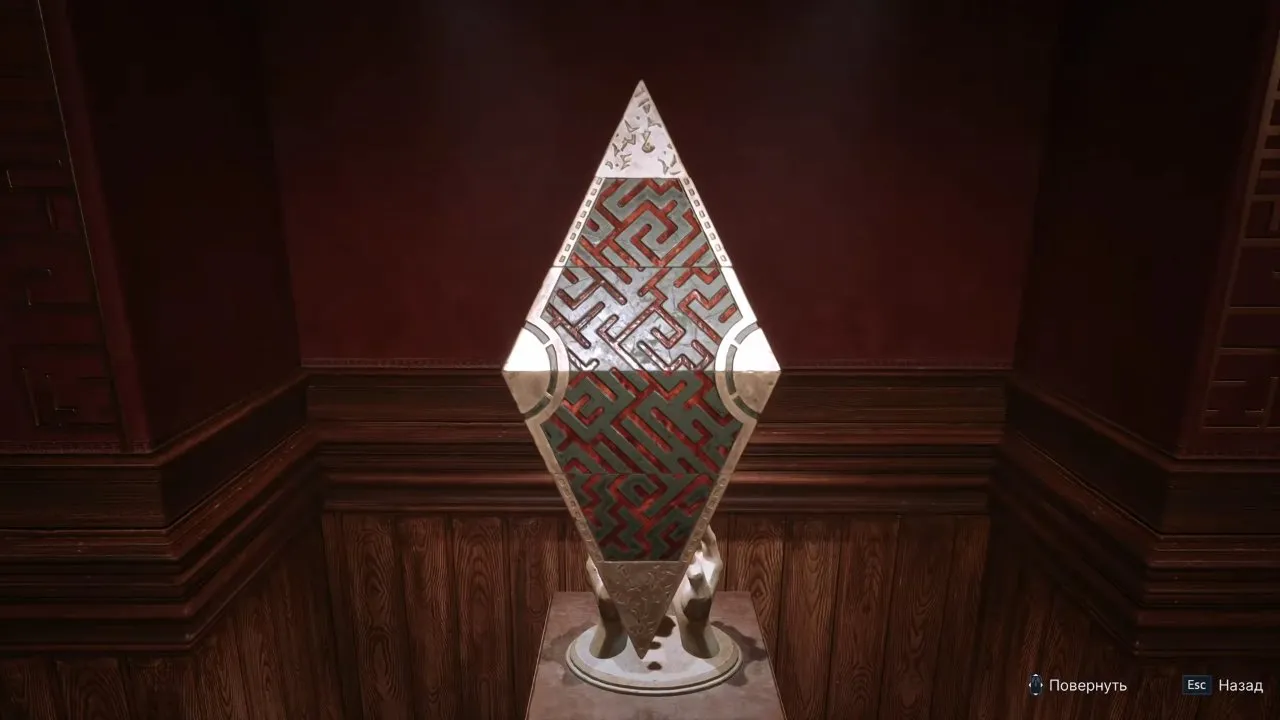
- Insert the Leviathan Top at the statue. You can then work on the assembly puzzle.
- Rotate the patterned sections to join the red maze design. Compare the bands across their edges, rather than judging only the statue's outer shape.
- Keep adjusting until the statue opens and reveals the duck.
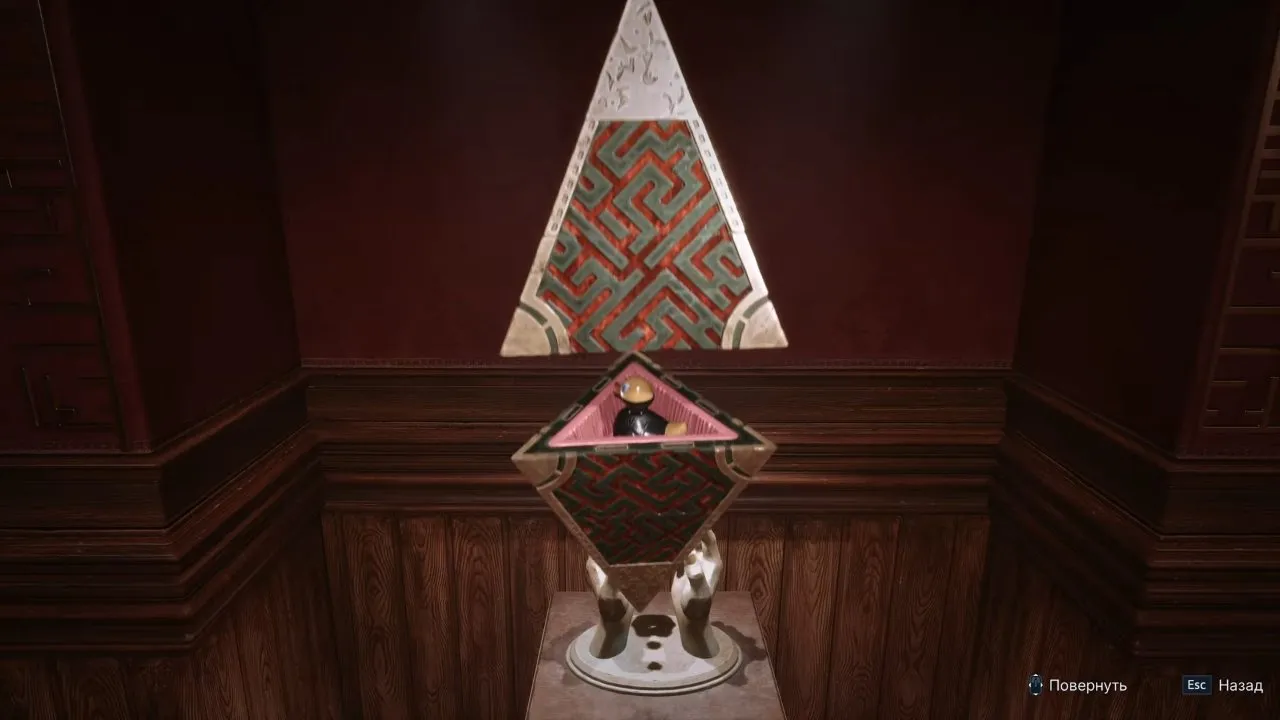
A smooth-looking outline alone is a poor stopping point. One player thought the assembly looked right, then had to keep working before the duck appeared. The opened compartment is the clear signal that you are done.
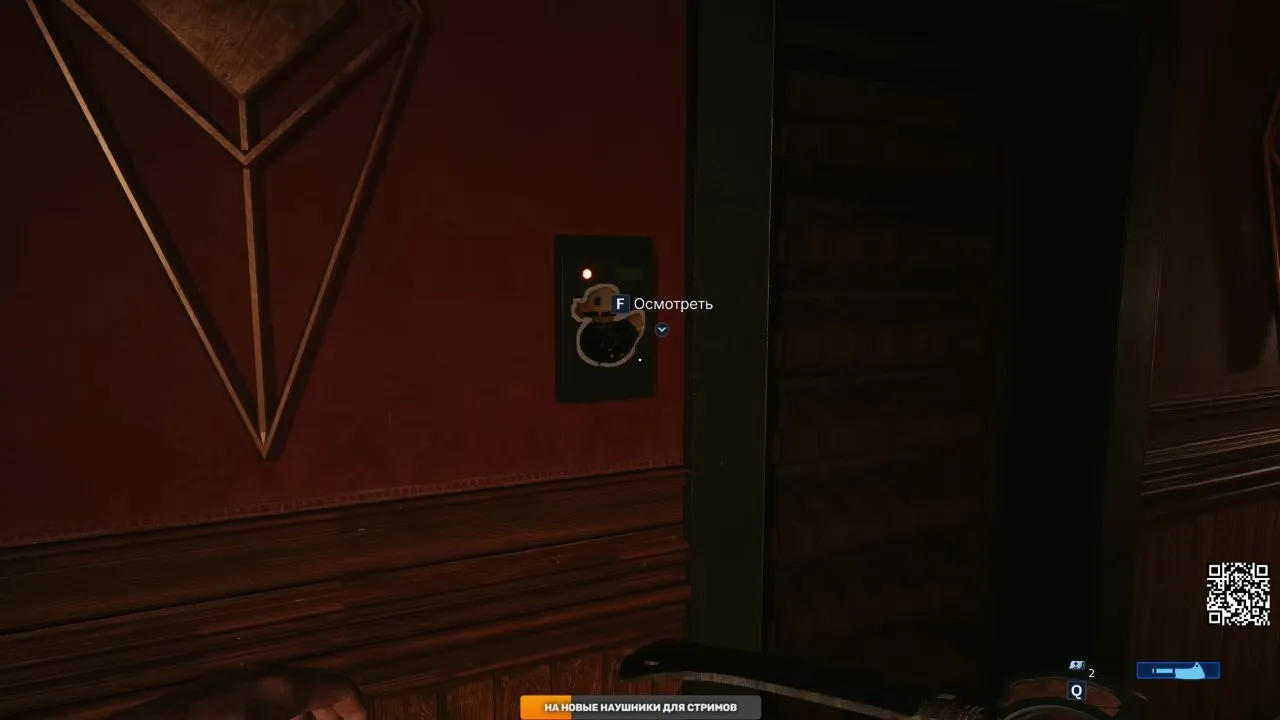
Take the duck to the Club entrance and use it on the duck-shaped reader beside the door. The matching silhouette explains the otherwise odd reward: it opens this door. Confirm that the door opens before moving on to the VIP lounge task.
How do you get the VIP lounge bunny key?
Bring the bunny-key holder a paddle, a spreader, and the giant dildo, then continue her interaction to get the VIP lounge key.
Talk to the visitor holding the bunny in the Club's rooms. The VIP paddle and spreader quest and the VIP giant dildo quest are parts of the same request: you need all three items.
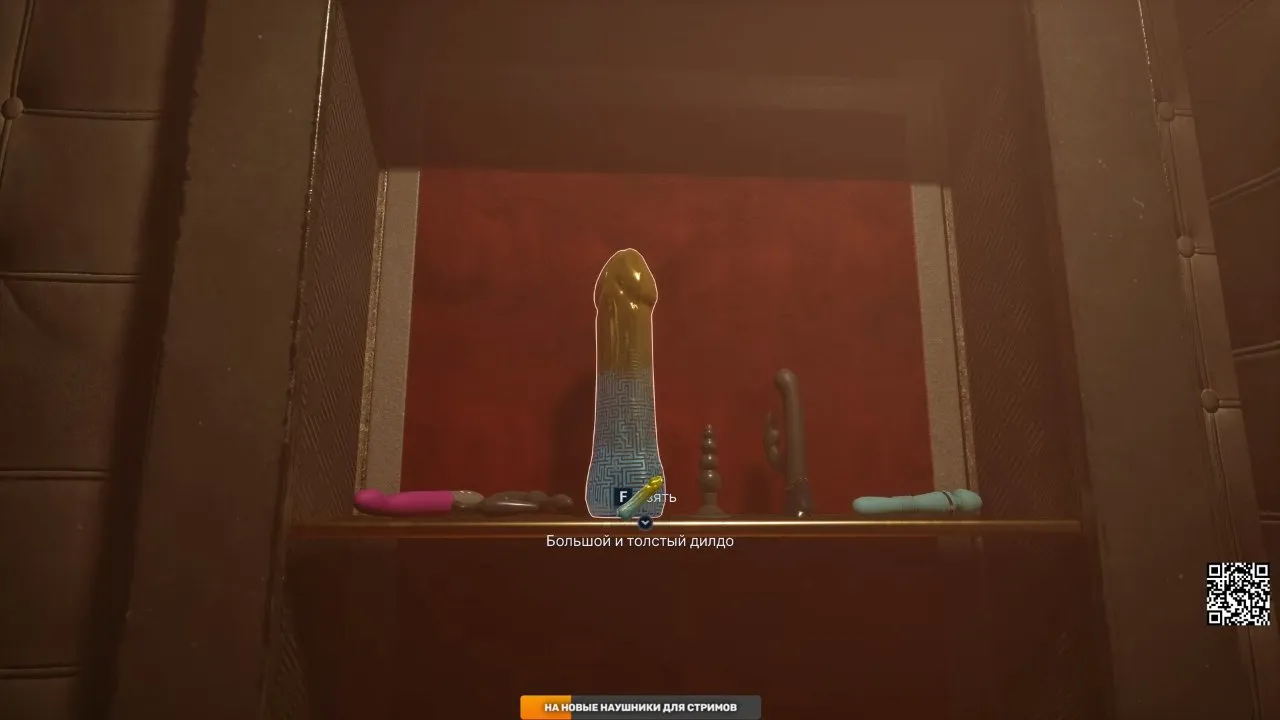
Pick up the giant dildo from the display shelf. The highlighted object and pickup prompt distinguish it from the smaller objects around it.
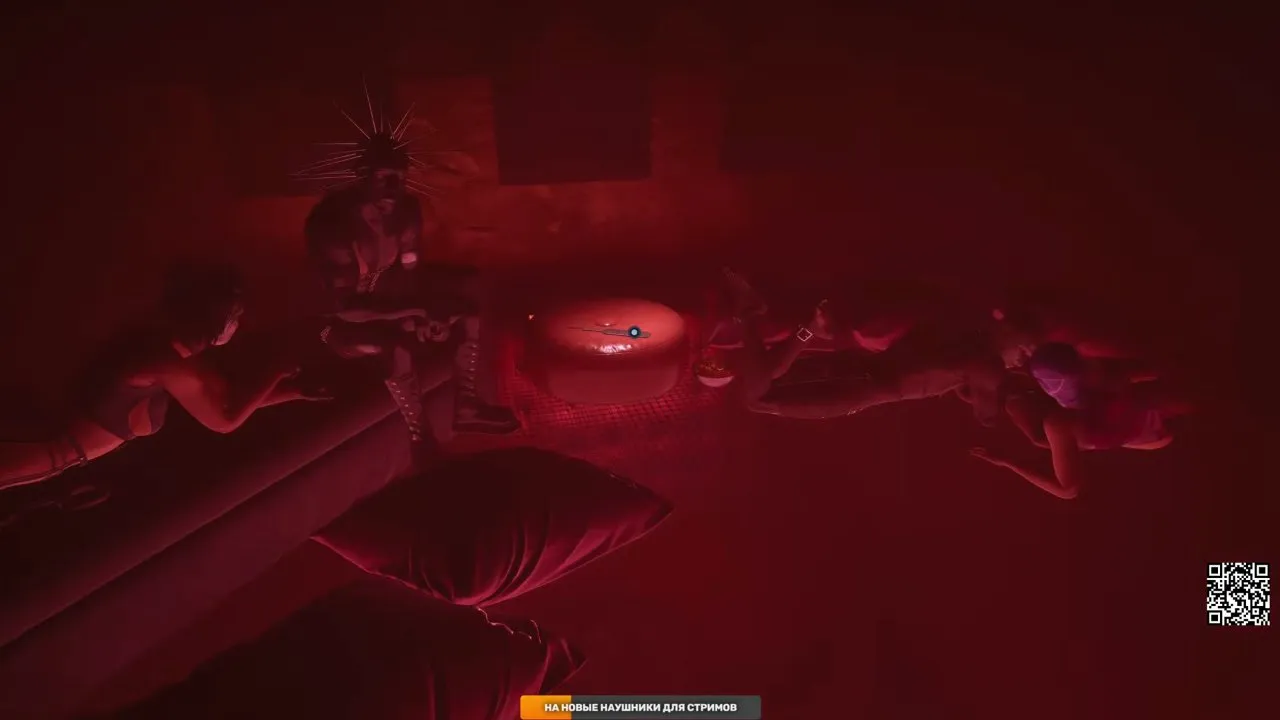
Collect the paddle from the room shown above. Check the stool between the visitors instead of searching only the display shelves.
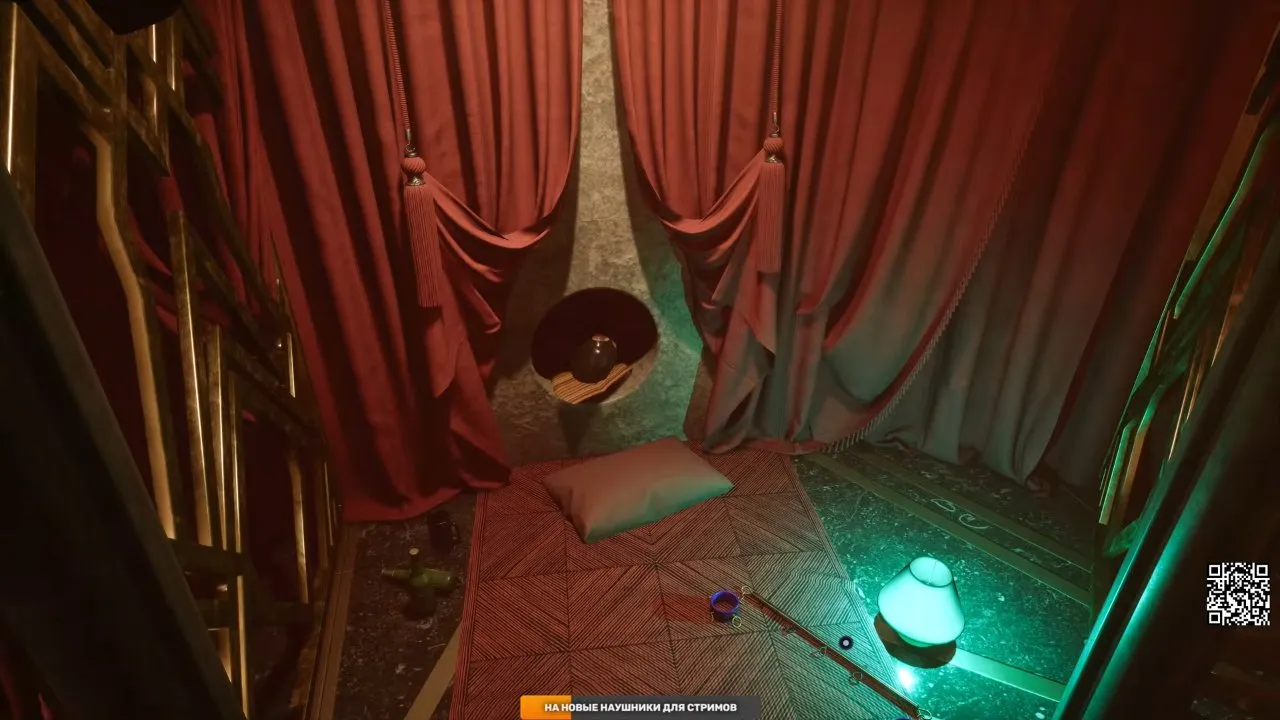
Pick up the spreader in the curtained room. Its bar and cuffs make it easier to recognize than the name alone; one player only identified it after taking another look.
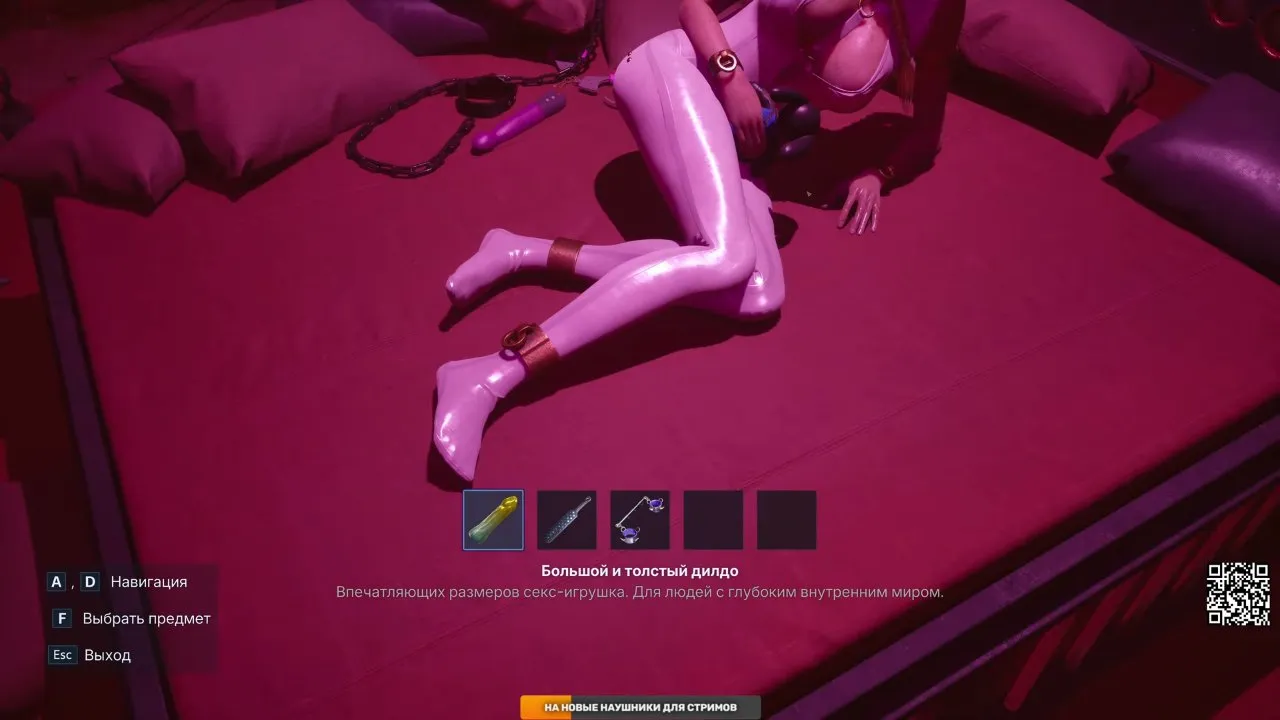
Return to the bunny-key holder and hand over the items. The selection row shows the dildo, paddle, and spreader together, which is a useful check before continuing.
Follow the paddle interaction and dialogue through to the key request. The exchange includes the safeword “cinnamon”; collecting the objects is only the fetch part, so do not stop at the hand-in screen.
Where is the Serenity Park Barn Key?
The Barn Key is on the bedside table in the house bedroom in Serenity Park.
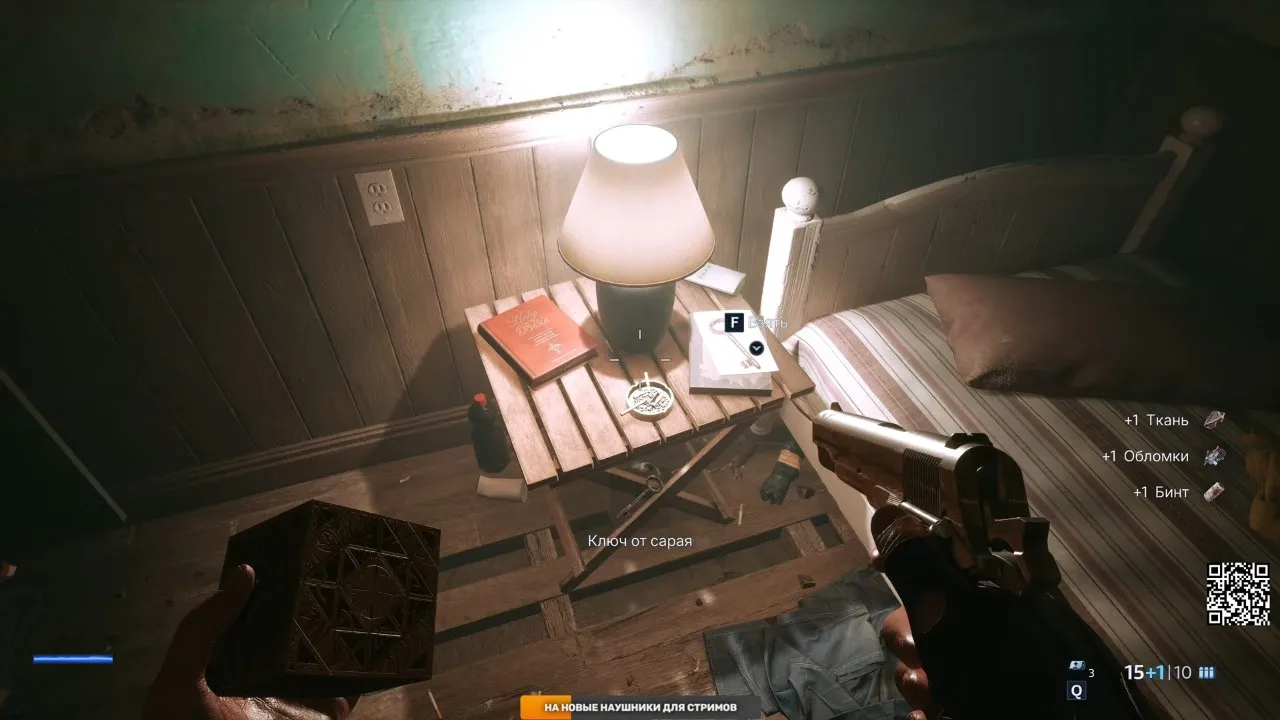
Inspect the table beside the bed and take the key. The Barn Key pickup prompt confirms the correct object. You can collect it directly from this table, so deal with the key before getting sidetracked by the nearby safe clues.
If the safe is your actual blocker, go to hellraiser revival codes for the separate code solutions.
How do you open the Serenity Park cemetery gate?
Fit the Cemetery Gate Insert into the gate's incomplete sculpture.
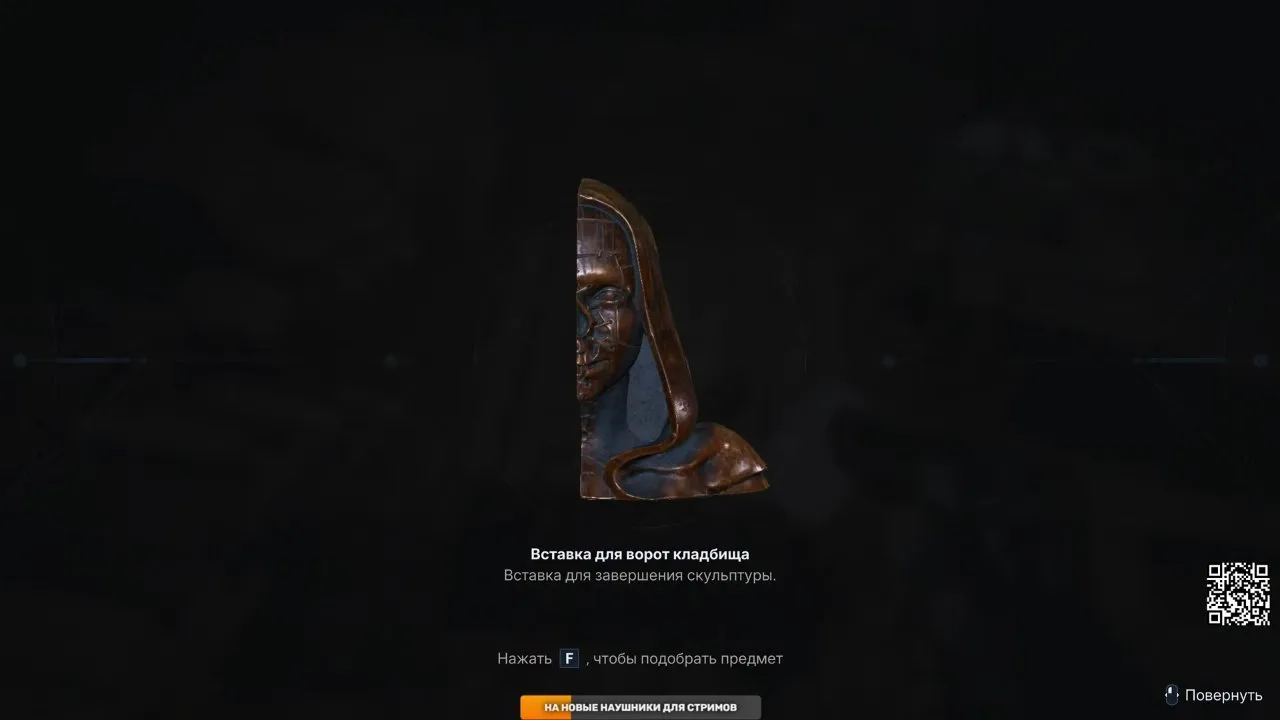
Collect the Cemetery Gate Insert and take it to the cemetery gate. It looks like a fragment of a sculpted face, and its description explicitly says it completes the sculpture. That is the clue to its use: match it to the missing sculptural piece rather than treating the gate as a combination lock.
When you fit it, check that the sculpture is complete and the gate opens. Keep an eye on Charlotte while carrying it back; she appears during this part of the route.
How do you get past Charlotte in Serenity Park?
Stay out of Charlotte's sight, watch her patrol, and throw objects to distract her before moving through an opening.
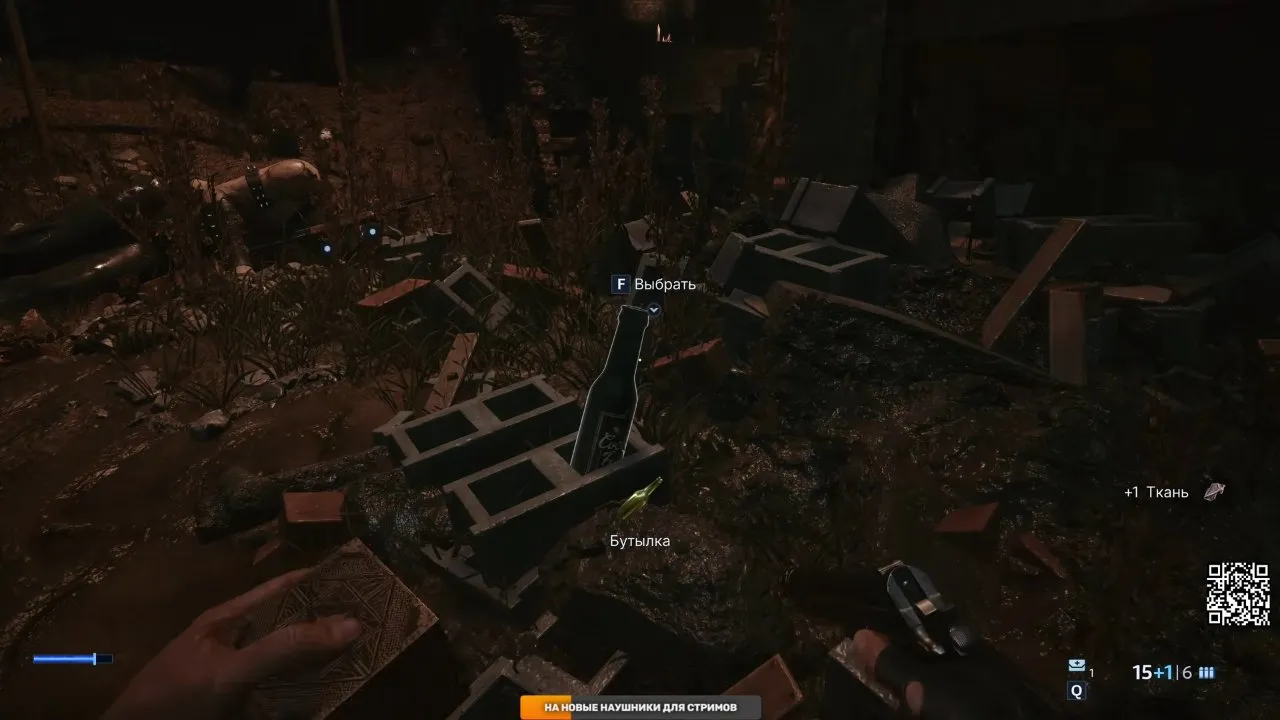
- Pick up a throwable object, such as the bottle shown above. The pickup prompt identifies what you can collect.
- Watch Charlotte's movement before crossing her path. Wait until you can move without walking into her sight.
- Throw an object to distract her, then check her movement before leaving cover.
One player was killed by a single hit during this section. Waiting to see where Charlotte goes is safer than rushing past her at close range.
For the encounter itself, continue to hellraiser revival charlotte. Once you have used the cemetery insert and opened the route, follow the next hellraiser revival walkthrough section to escape Charlotte and find Sunny.