
Crouch and move slowly between cover while Leviathan's beam points away, keep advancing before your cover lowers, and preserve the movable bridge for your return. This Hellraiser Revival Leviathan route covers the gaze section in Clive Barker's Hellraiser: Revival, including the optional Suffering Pillar branch. If you need the surrounding sequence, use the Hellraiser Revival walkthrough.
How do you cross Leviathan's gaze without being seen?
Wait behind cover until the beam moves away, then crouch and move slowly to the next cover.
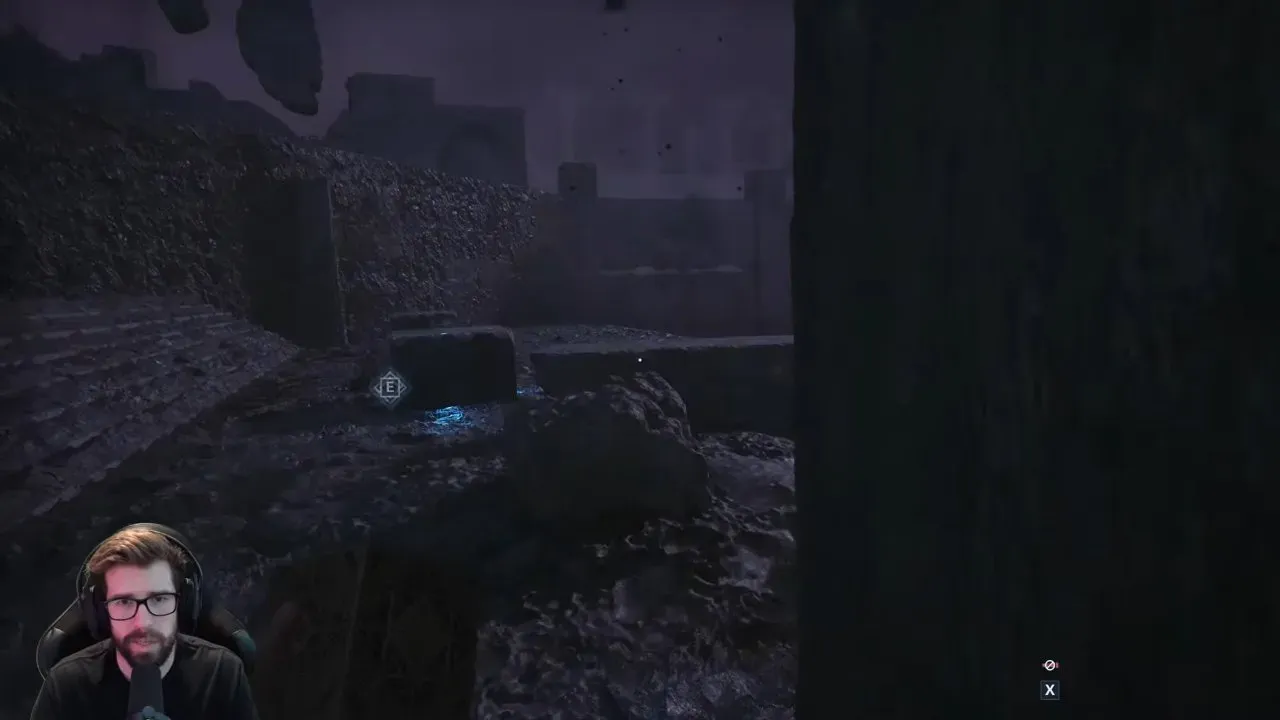
- Watch from behind cover. It can look like a sprinting challenge at first, but read the beam's direction as your cue to move. Before stepping out, confirm that it has moved away from your crossing.
- Advance during that opening. Aim for the next cover rather than trying to rush the whole Leviathan eye beam route. Confirm that you have reached cover before waiting for another opening.
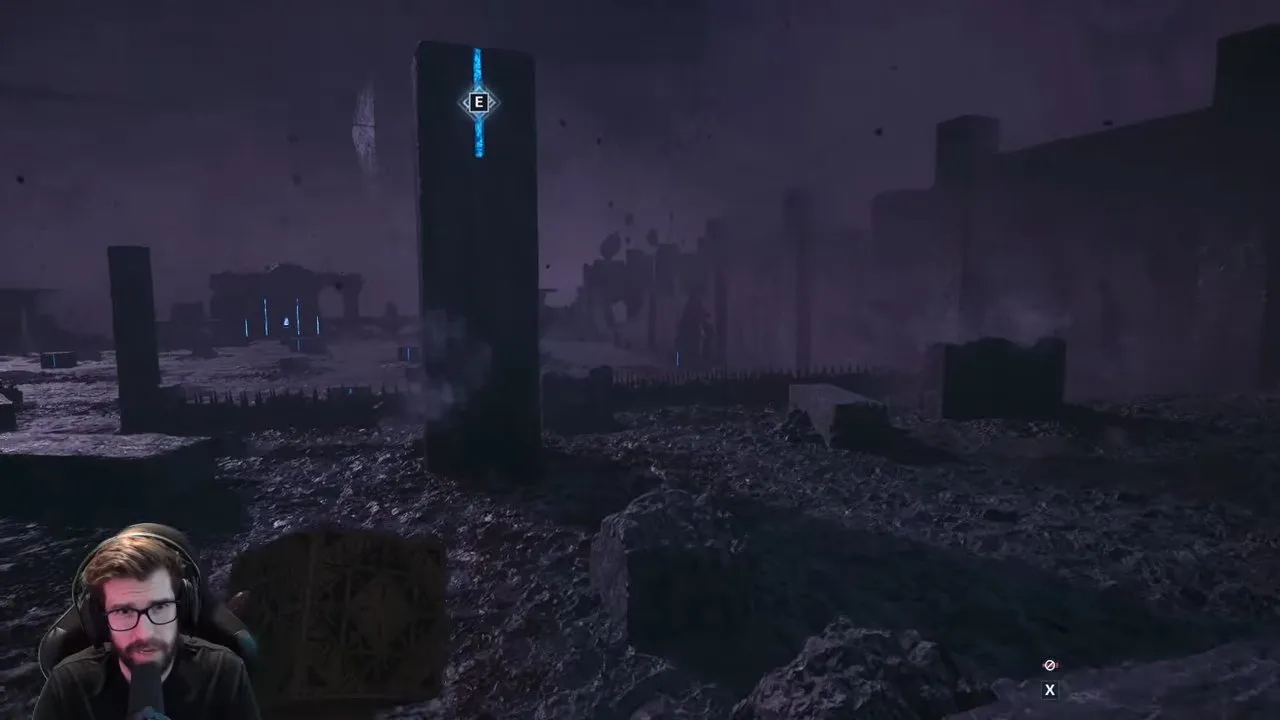
- Stay crouched and keep your movement slow. Avoid sticking out from cover just to peek. Your immediate check is that you remain behind cover as the beam passes, then move when it points away again.
A player initially tried sprinting and struggled with immediate exposure. The same player observed that noise draws attention and faster movement makes you easier to see. Treat those observations as a reason to favor slow, controlled movement for Leviathan gaze stealth.
For other encounters, use the Hellraiser Revival bosses page; keep this section's focus on getting across unseen.
What should you do when Leviathan's cover starts lowering?
Use the next safe interval to advance, because lowering cover makes waiting in one place a poor long-term plan.
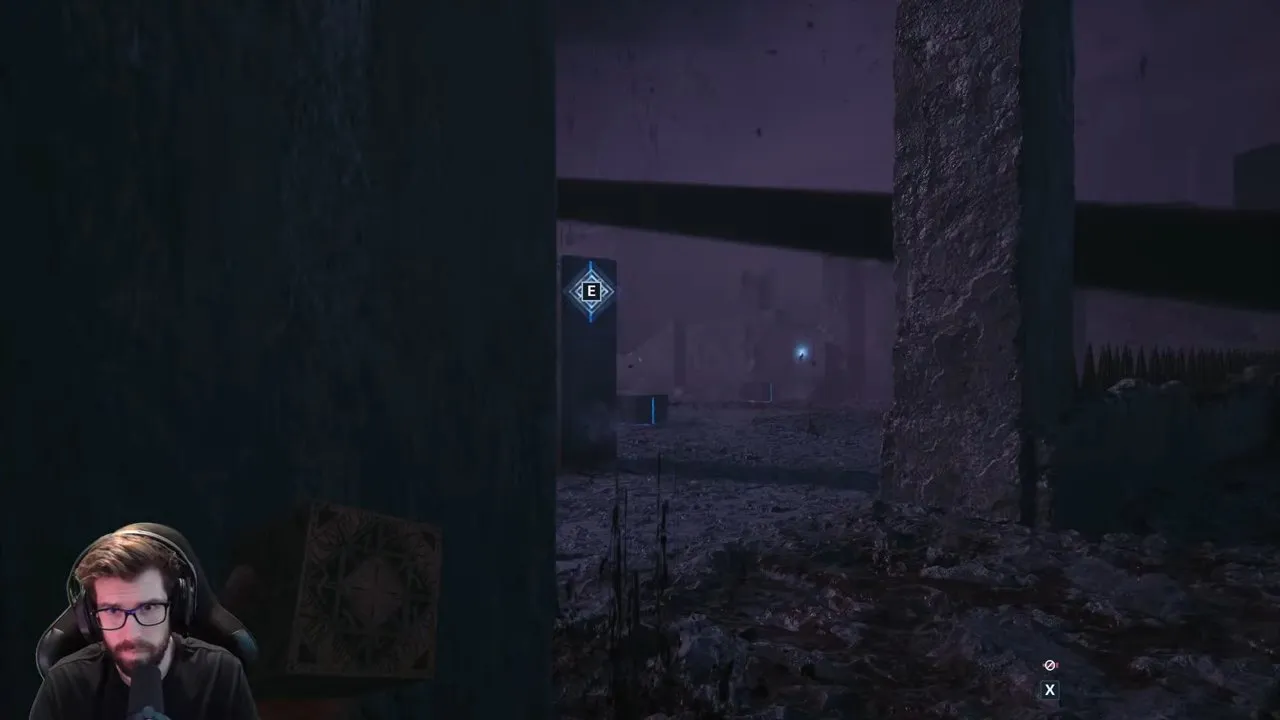
The cover can look like a permanent hiding spot until you notice it sinking. Watch its height as well as the beam. Once it begins lowering, prepare your next move rather than settling in for several passes.
You still want the beam directed away before crossing. Confirm progress by reaching the next cover while it can still shield you. The steadier approach is to take a safe opening promptly, without turning every crossing into a sprint.
Should you take the Leviathan Suffering Pillar crossing?
Take the optional branch if you want the Suffering Pillar's maximum suffering increase, but plan the trip back before leaving the main route.
Continue without the optional pillar
Stay on the crossing route if your immediate goal is to get through the gaze section. You avoid the pillar detour and its return crossing; keep checking the beam and cover as you advance.
Visit the pillar for the reward
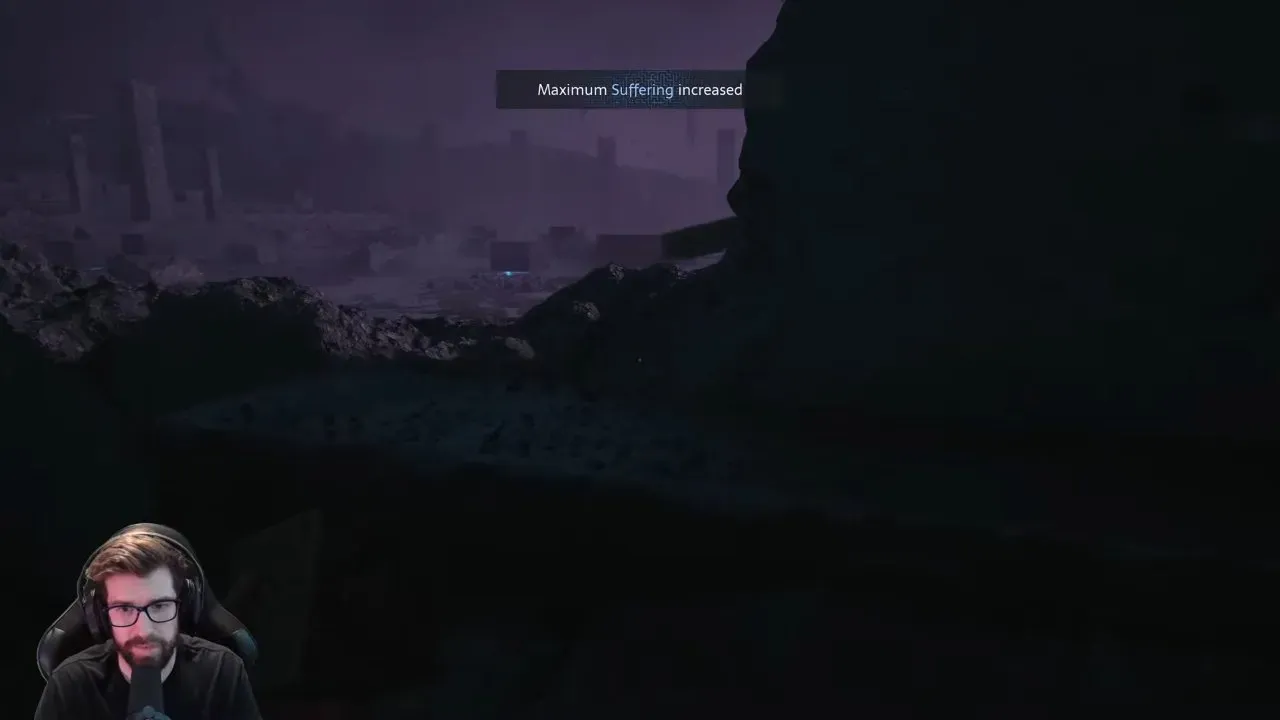
Activate the pillar and check for the maximum suffering increase message. A player also received Pain and pleasure indivisible here after activating every Suffering Pillar. That achievement depends on the full collection, so the increase message is the useful check for this pillar itself.
The player survived a rushed approach but described it as a mistake. Use the same cover-and-wait method on this branch, and keep the return bridge in mind before committing.
How do you get back if you moved the bridge away?
Reposition the movable bridge for the return crossing, then wait until the beam has moved well away before crossing back.
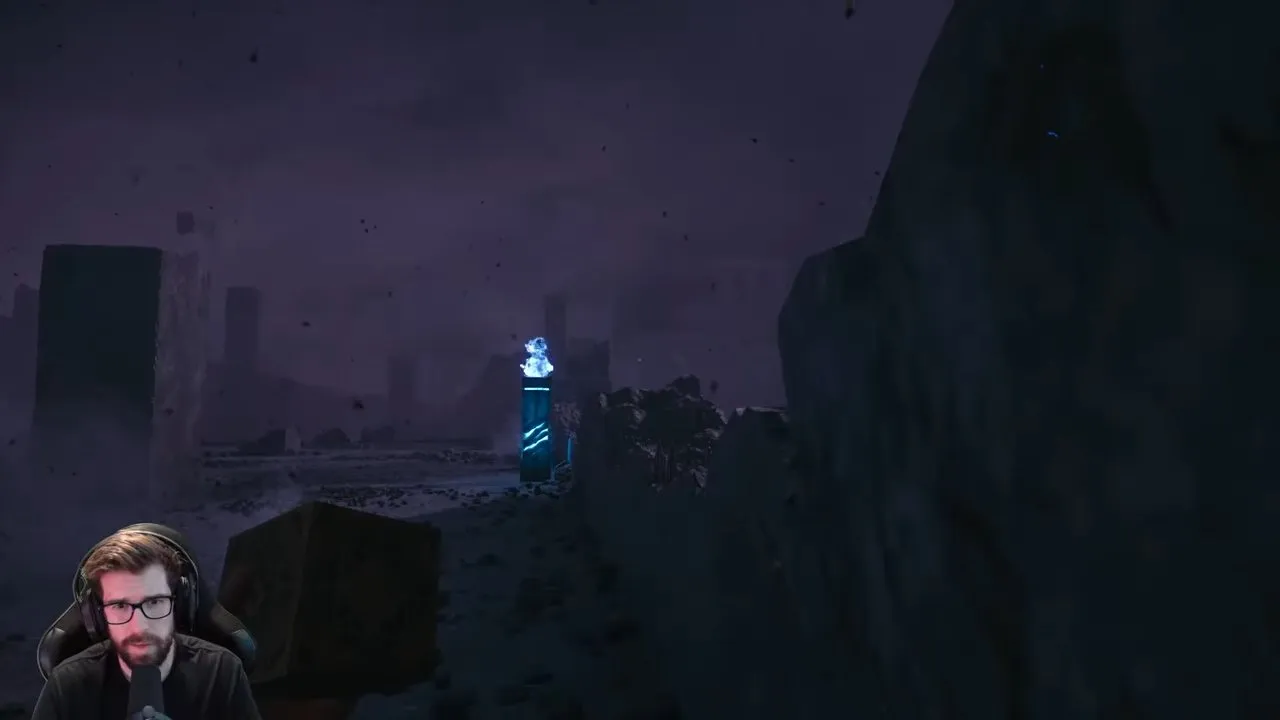
Preserving the bridge's usable return position is the recommended approach. Before leaving for the pillar, check that the bridge will still serve the route back. If you already displaced it, check its position again before attempting the crossing.
A player who moved the bridge away had to retrace the earlier route and wait for the beam to travel farther away at the final crossing. Avoid adding that awkward return to an already risky detour.
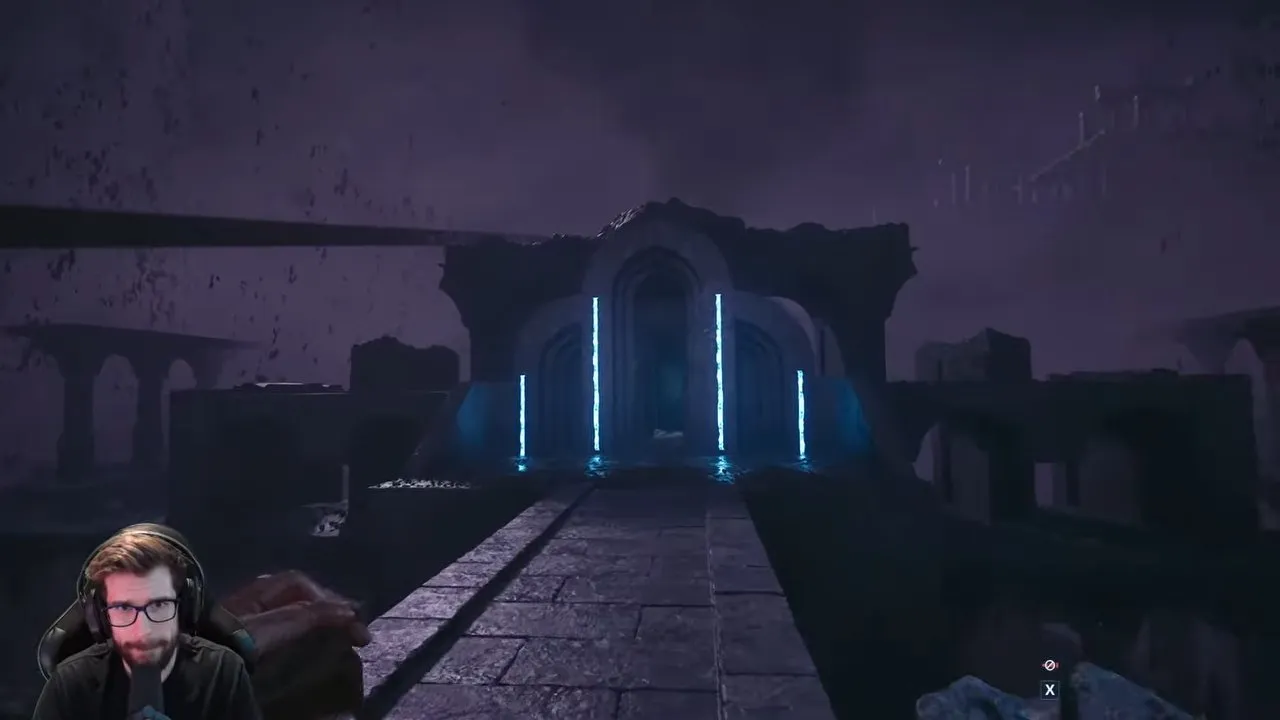
Confirm completion by reaching safety out of the gaze's sight. You have cleared the crossing, with increased maximum suffering if you activated the optional pillar. Continue with the Hellraiser Revival walkthrough for the next sequence. For story questions afterward, use Hellraiser Revival characters or Hellraiser Revival endings.